Programming ESP and other Arduino compatible chips using VS Code on MacOS
When you are developing microcontroller based projects as a hobbyist you often end up with the Arduino ecosystem and might be tempted to use their IDE. This post will explain how you can develop, program & debug Arduino compatible devices using VS Code. Even though this post is written with a MacOS walk-through it should be valid for other operation systems as well.
- Installation
- Configure your VS Code Setup
- Writing your Arduino Sketch in VS Code
- Programming your device (Upload a sketch)
- Preventing Arduino IDE splash screen showing up when uploading
- Debugging
Installation
There are two things you need to have installed:
Now you need to install the vsciot-vscode.vscode-arduino extension for VS Code.
As you can see from the extension page it comes with most features that you need:
- code syntax highlighting and auto completion for
.inofiles - programming the microcontroller straight from VS Code
- install Arduino libraries
- debugging integration into VS Code
Configure your VS Code Setup
After installing the extension you should see the following additional information in your VS Code status bar interface on the bottom.

Install ESP8266 drivers for Arduino IDE
If you work with a native Arduino device you can skip this chapter. The Arduino IDE natively brings support for all Arduino-family devices. The ESP8266 is a very popular IoT chip as it offers WiFi capability for less than $10, but it is not an Arduino device.
To bring support for the ESP8266 chip into Arduino IDE (and VS Code) you need to install special drivers.
First you need to add the ESP8266 Arduino Core to the list of additional URLs in the Arduino Board manager.
Open your VS Code settings (⌘+,) and edit the arduino.additionalUrls setting, by adding the URL of the ESP8266 Arduino Core package.
  "arduino.additionalUrls": [
      "https://arduino.esp8266.com/stable/package_esp8266com_index.json"
  ]
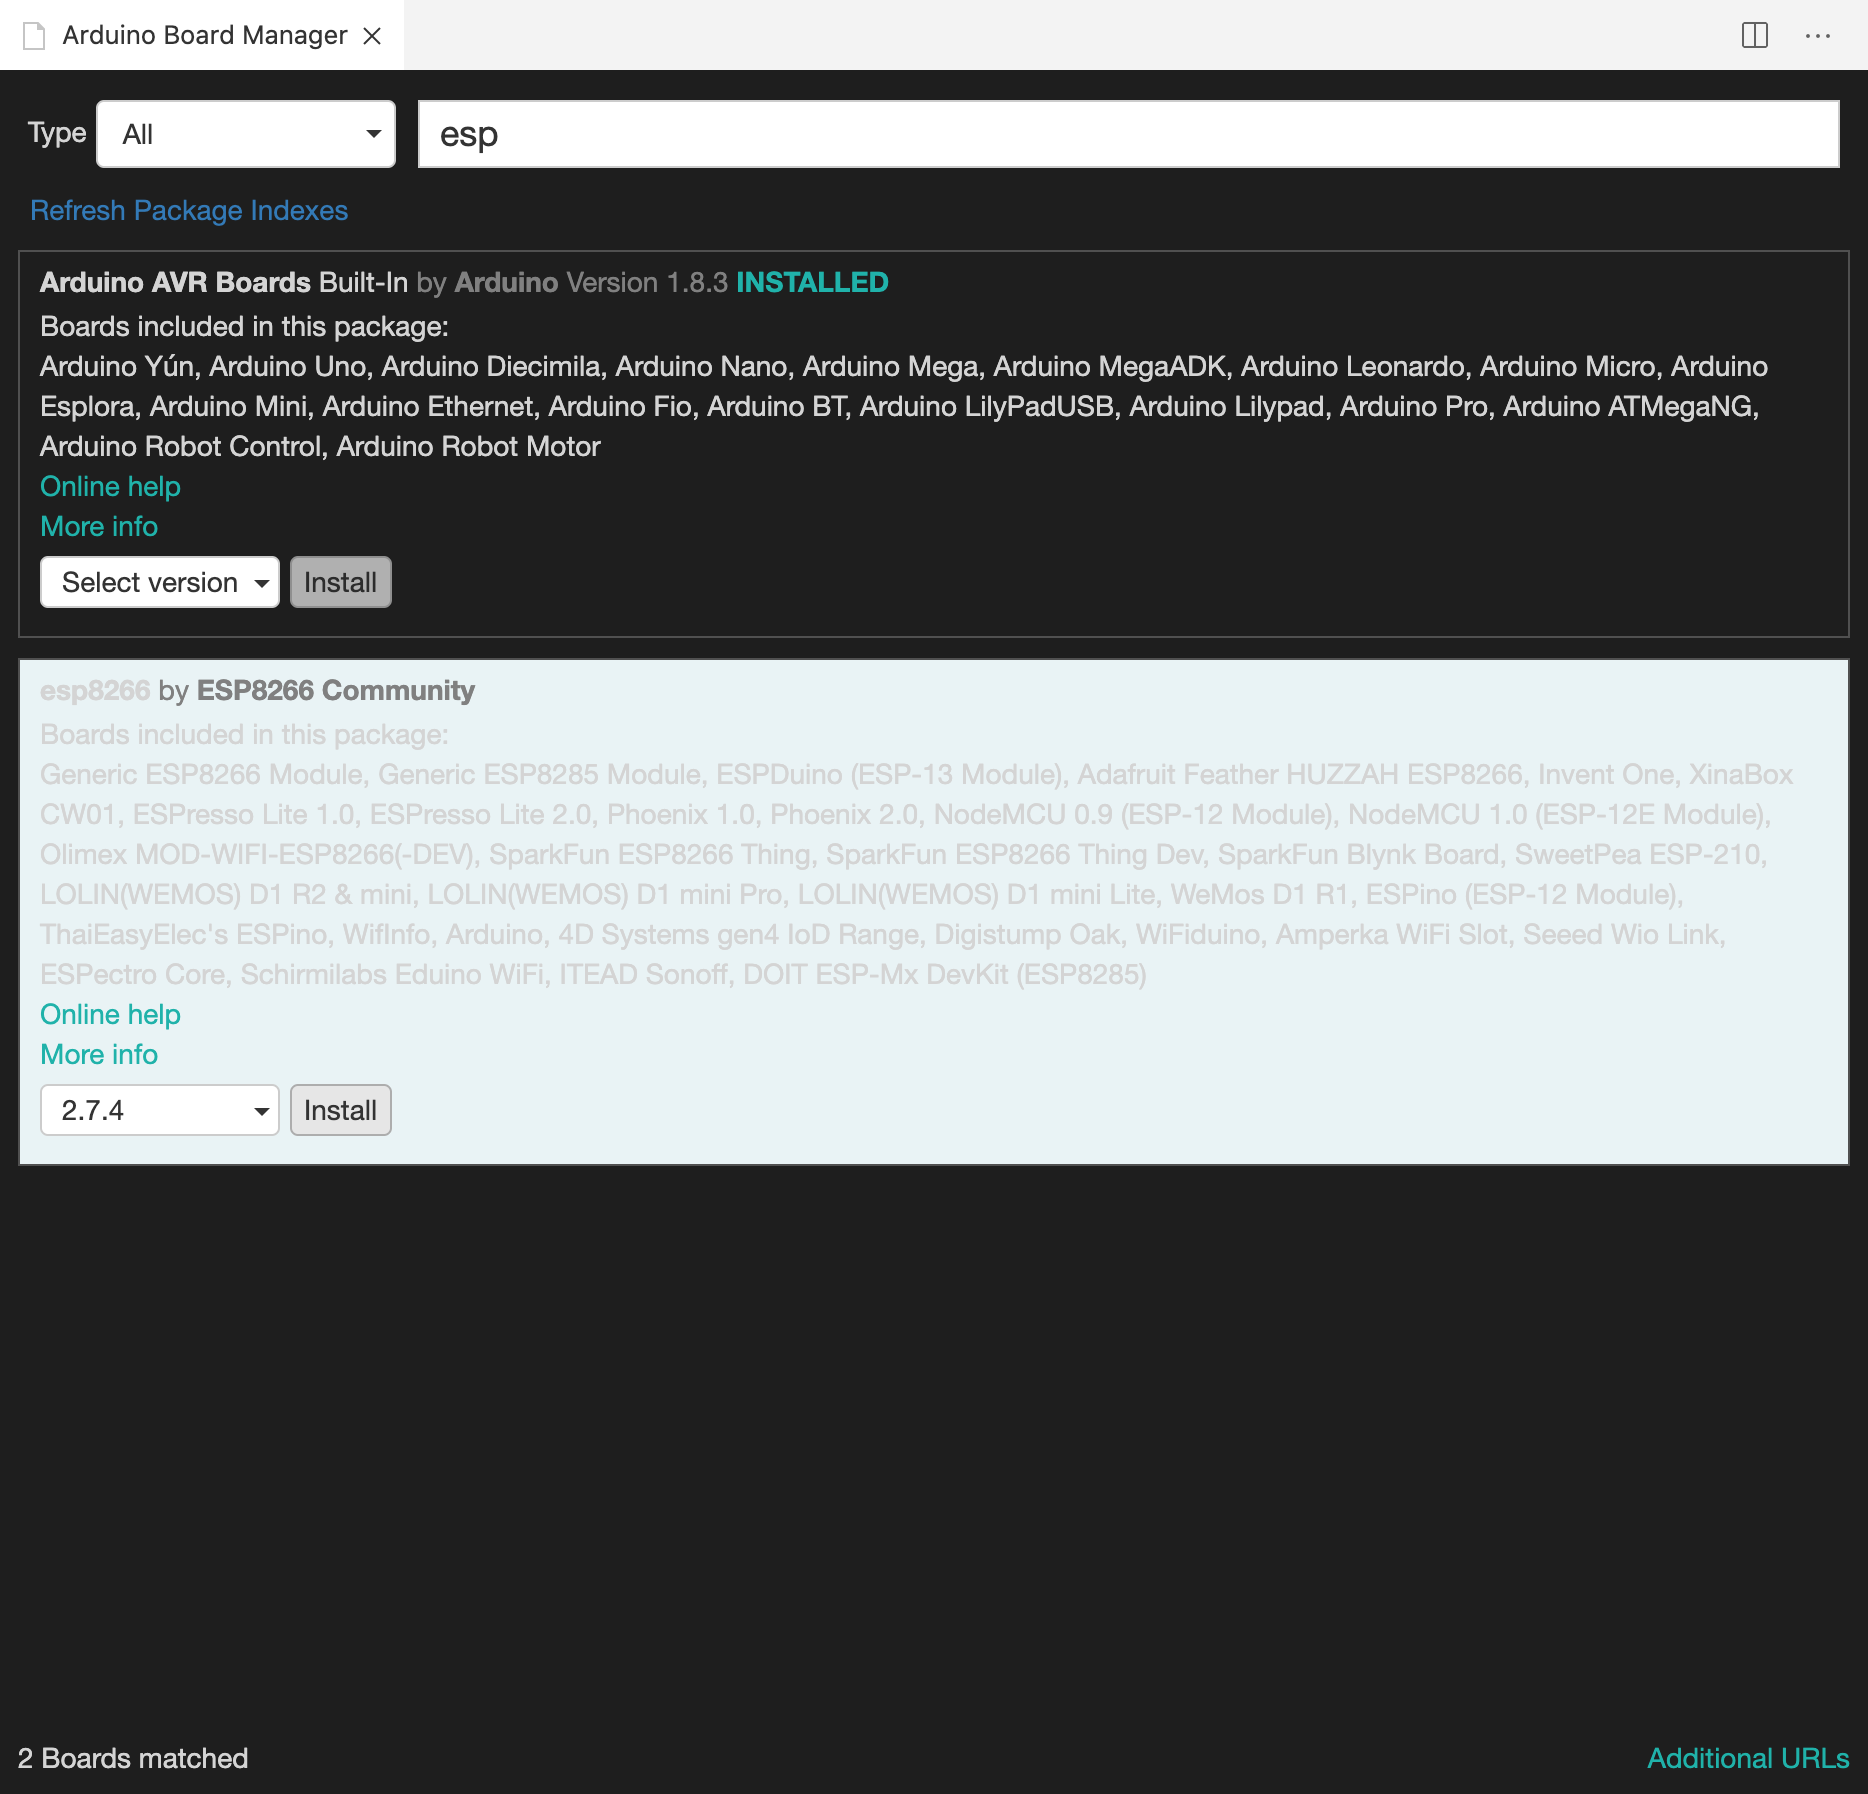
Next we need to install this package, bring up the board manager using the command palette (⌘+Shift+P, ctrl+Shift+P) > Arduino Board Manager, search for ESP and click install on the esp8266 by ESP8266 Community package.
While the package is installed you might see the Arduino IDE splash screen pop up
The installation progress can be tracked in the VS Code output panel which should finally give you a success message after download & install.
Connecting your Board
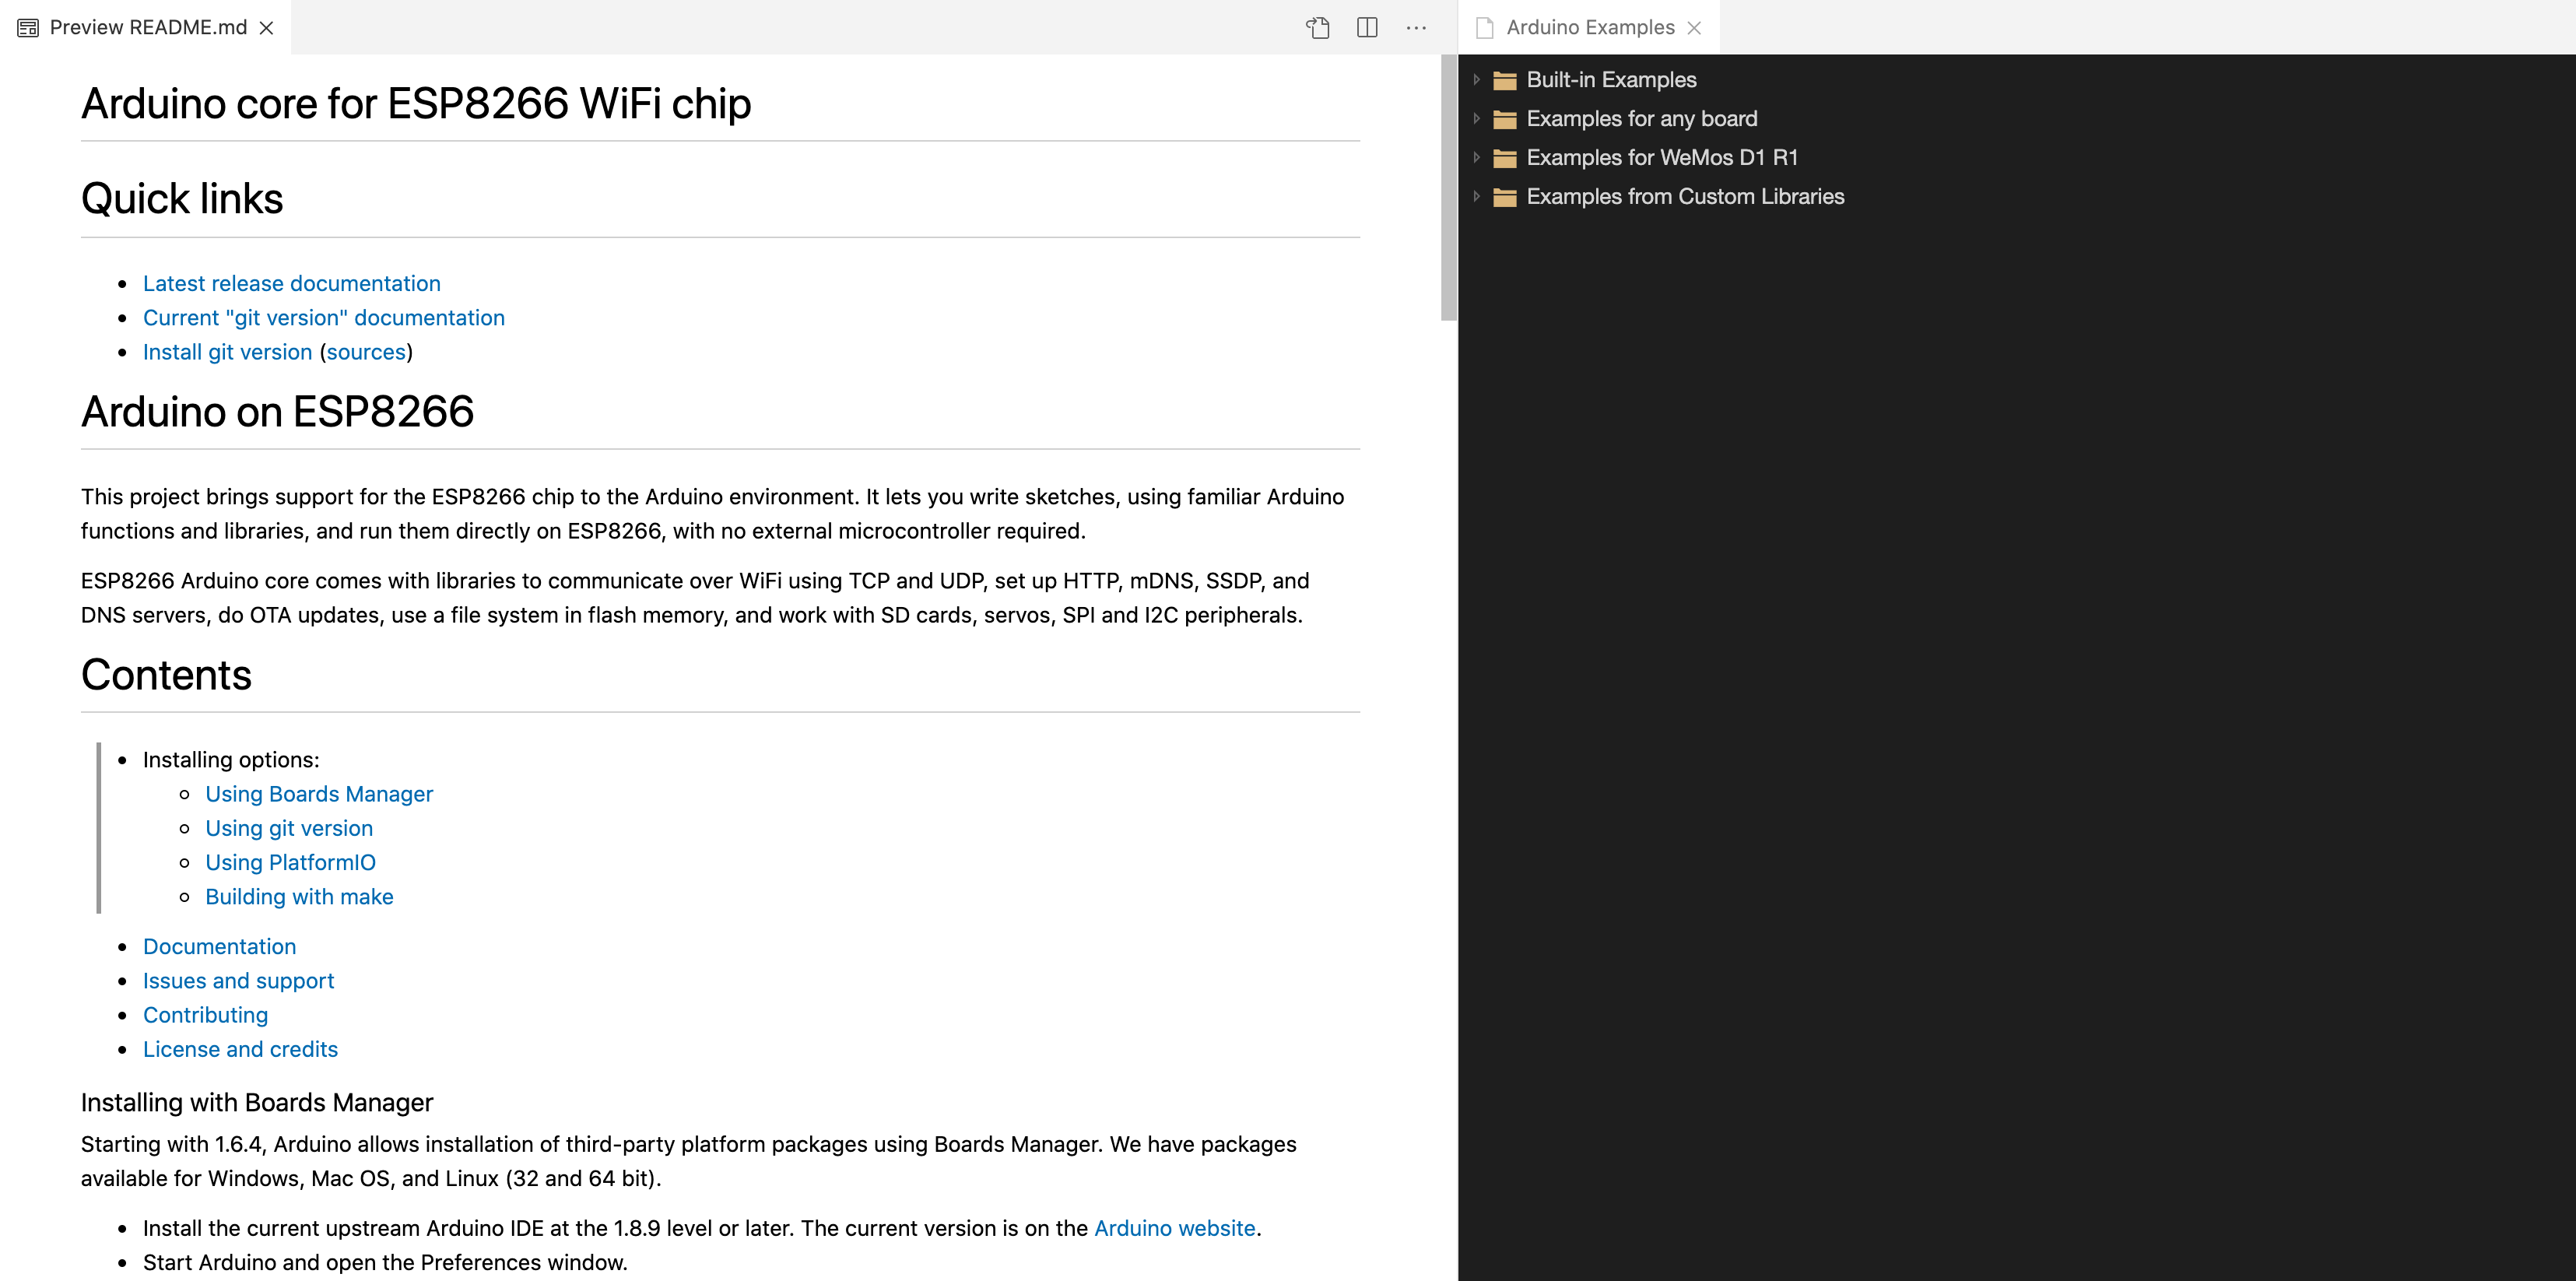
For the following steps make sure your Microcontroller board is connected to your computer. After connecting the board VS Code might automatically open up a list of examples to choose from and the Readme of the ESP8266 Arduino package.
You may choose the Blink example for testing your setup.
Select Programmer
Open the command palette (⌘+Shift+P, ctrl+Shift+P) again and this time navigate to > Arduino Select Programmer, there choose AVR ISP
Select Board Type
Do the same thing for selecting your board type > Arduino Change command palette (⌘+Shift+P, ctrl+Shift+P) > Arduino Board Manager Board Type
In case of the ESP8266 I chose the Generic ESP8266 Module, if you know more specific which board you use please choose the appropriate entry e.g. Adafruits Feather.
Writing your Arduino Sketch in VS Code
As you can see the .ino files just open up in VS Code as text files and you can code away.
The extension also brings support for C++ syntax checks and auto completion.
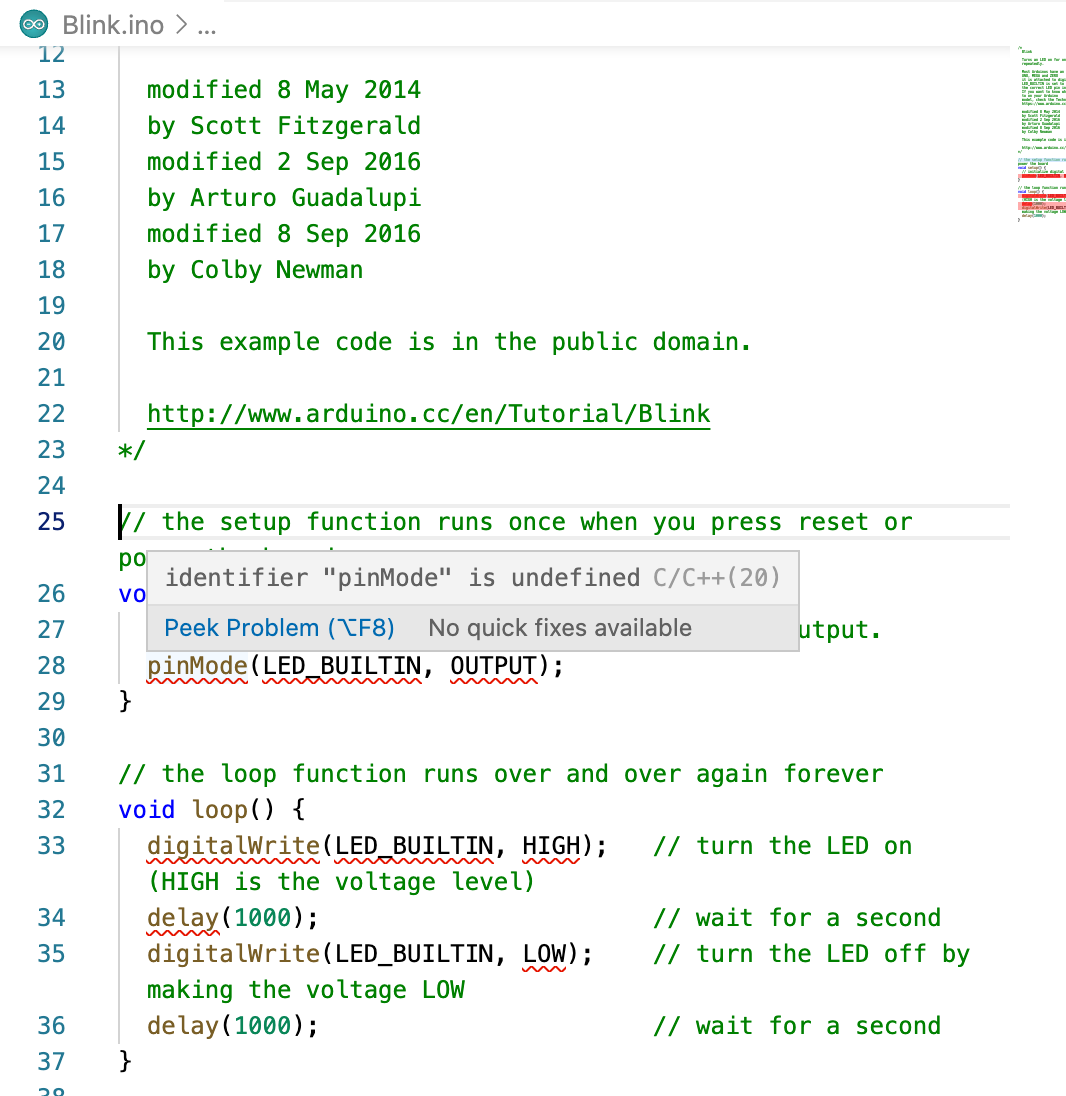
You may notice that VS Code already shows several errors if you open an example.
This is because the Arduino IDE behaves a bit different - you might say more convenient for newcomers.
What you need to do to make the naive C++ compiler understand those commands is to add the Arduino header files in the beginning of your sketch.
#include<Arduino.h>
Programming your device (Upload a sketch)
To program your device simply click the Upload button or use the command palette Arduino: Upload option.
Note: The button is only visible if you have a
.inofile open.
Preventing Arduino IDE splash screen showing up when uploading
Every time you interact with the Arduino IDE its splash screen opens up and steals the focus which is very annoying if you program in fullscreen as it shifts to another desktop.
To fix this you can follow the recommendation from this issue #1970 which is slightly modifying the Arduino installation.
For me editing the Applications/Arduino.app/Contents/Info.plist did the trick by simply removing the following line and saving the file.
L87: <string>-splash:$APP_ROOT/Contents/Java/lib/splash.png</string>
With this line gone no more popups when programming or verifying your installation!
Debugging
For debugging there is a great tutorial on the Microsoft blog: Debug your Arduino code with Visual Studio Code Note that you must have a either a board with an onboard debugger or a dedicated debugger in order for this to work.
I hope this post helped you out and I would love to hear your thoughts in the comments or via Twitter 👋


