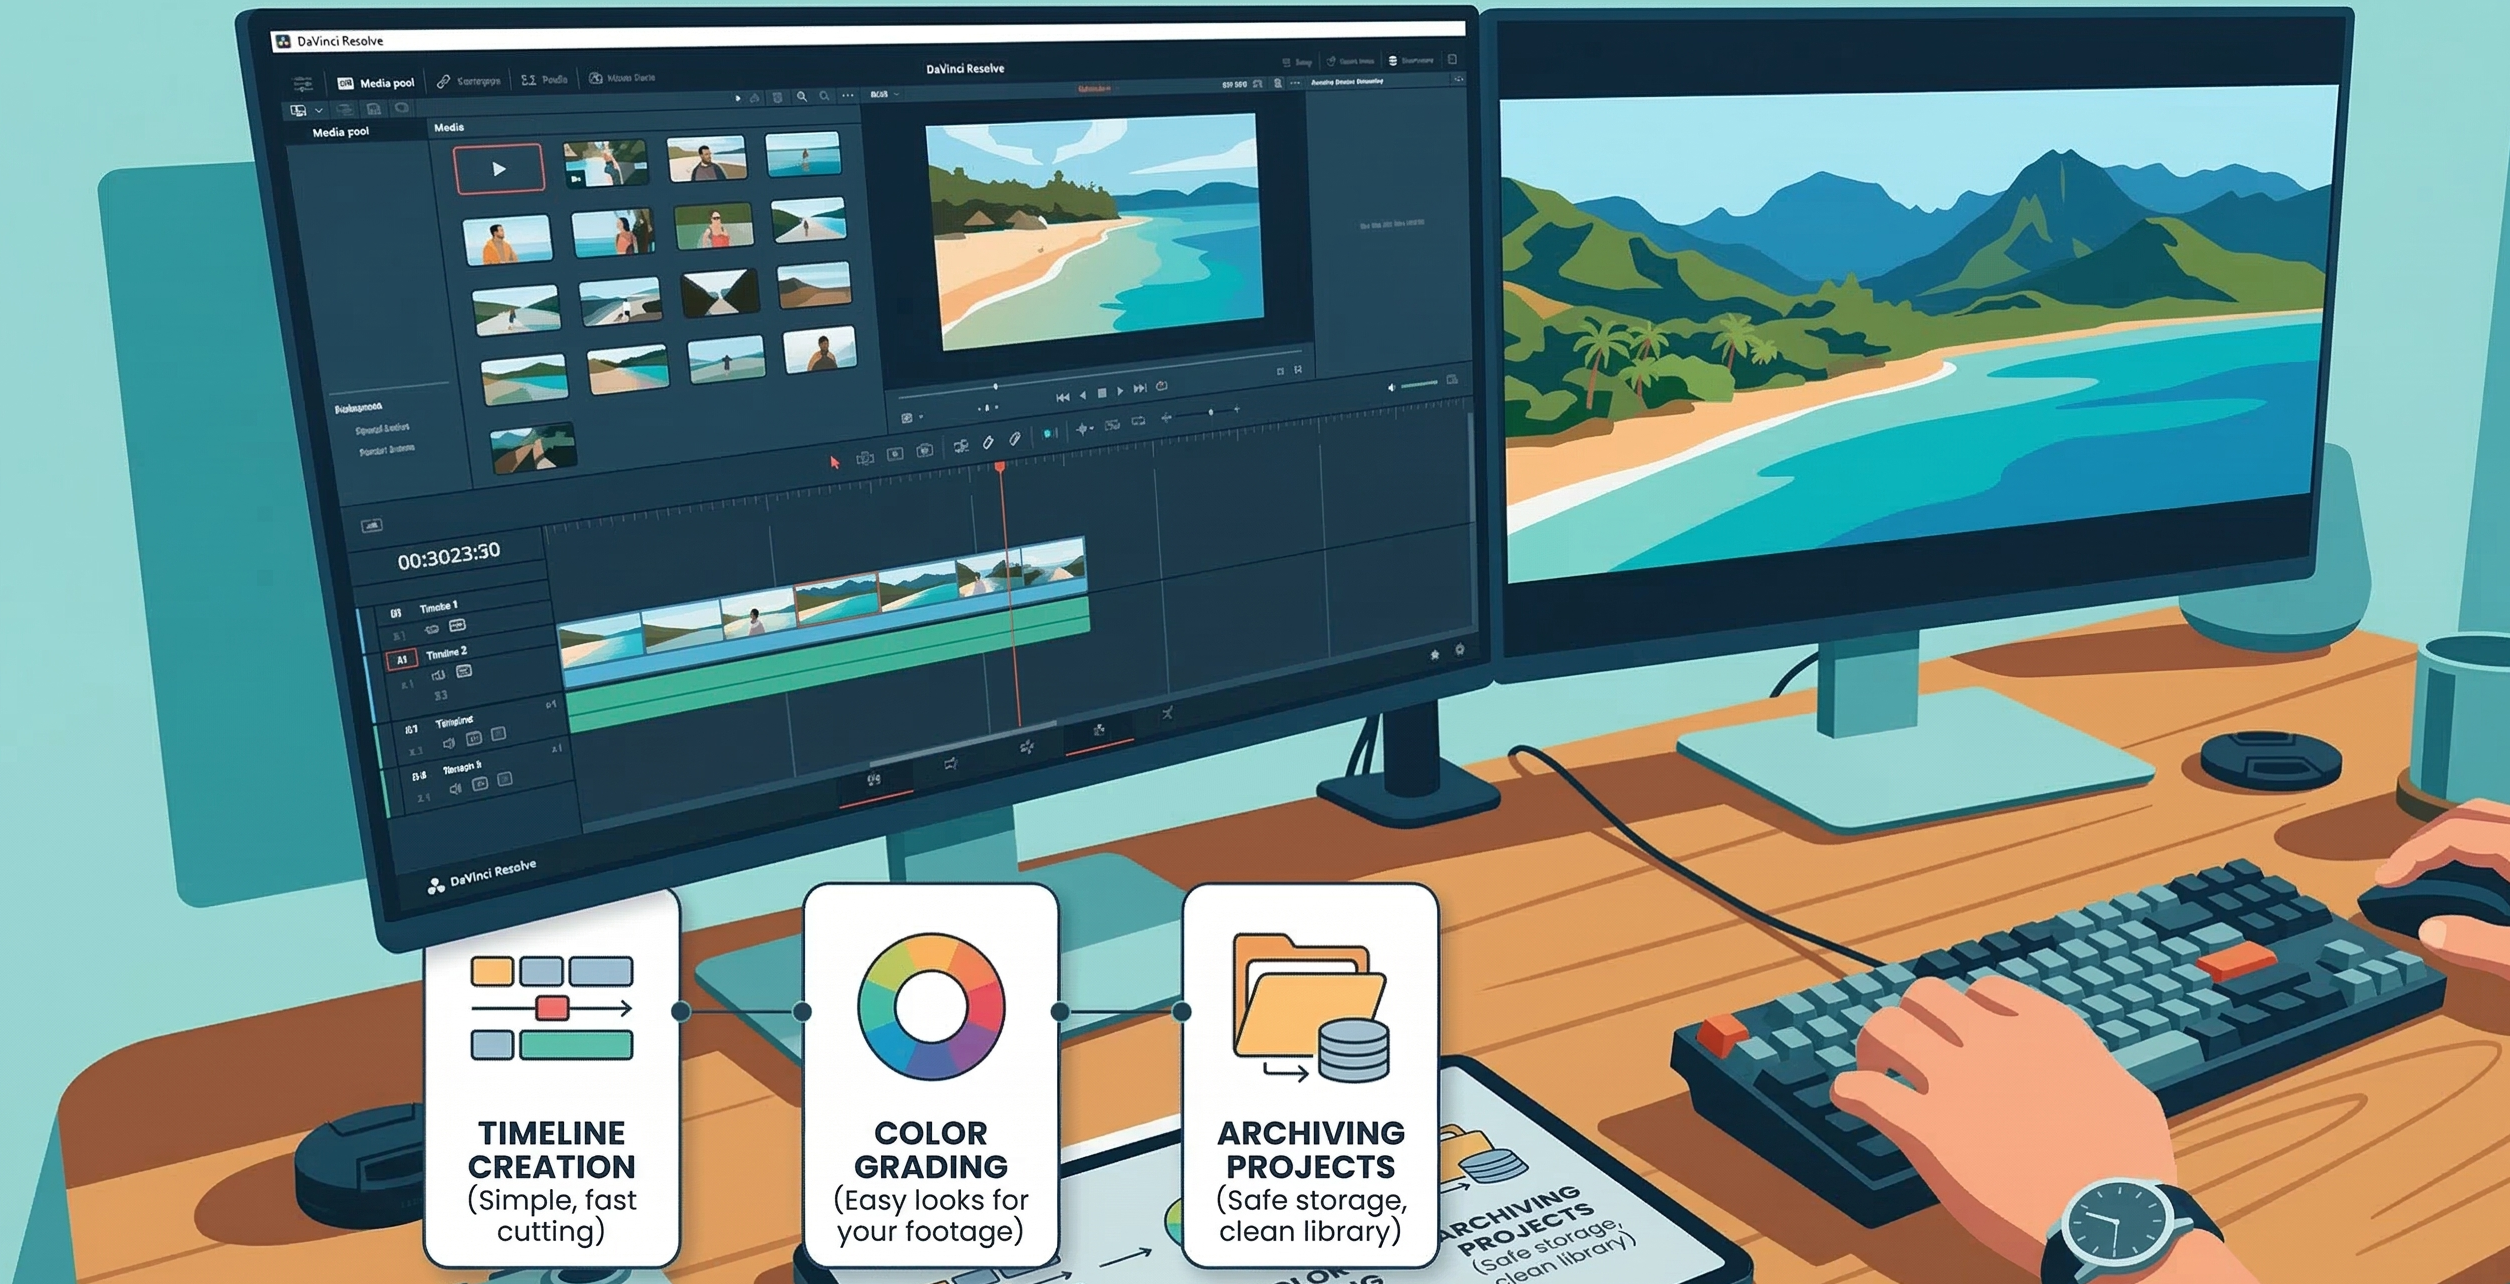
Davinci Resolve Workflows
DaVinci Resolve is a powerhouse for video editing, but it can quickly become overwhelming when all you want to do is cut together some nice holiday videos. If you’re like me, you probably just want to piece together those precious memories from your phone or drone without getting bogged down in complex Hollywood workflows. Here are three of my main workflows that keep things manageable, fast, and still look great: Timeline Creation, Color Grading, and Archiving Projects.
1. Timeline Creation (Sorting the Memories)
Before doing any grading, you need to actually assemble your story. When I dump a hundred random holiday clips into Resolve, it’s easy to get lost. Here is my fast, structured approach to sifting through the footage and building a timeline:
Step 1: Color Code the Chaos
- Go to the Edit page and open your Media Pool.
- Quickly scrub through all your clips.
- Right-click and assign a Clip Color:
- Blue for A-Roll (The absolute best shots you definitely want to use).
- Red for Trash (Out of focus, shaky, or just bad—you won’t use these).
- Leave everything else unmarked (This becomes your B-Roll/fallback footage).
Step 2: Creating Subclips from Long Takes
Sometimes you have a massive 5-minute drone clip where only 10 seconds are usable A-Roll, and another 10 seconds are good B-Roll. Instead of trying to keep track of a massive file, break it down:
- Double click the long clip to open it in the Source Viewer.
- Press I to mark an In-point where the good part starts, and O to mark an Out-point where it ends.
- Press Alt+B (Windows) or Option+B (Mac) to Create Subclip.
- A new, shorter clip will appear in your Media Pool.
- You can now apply the Blue or un-marked B-Roll clip color to these specific subclips!
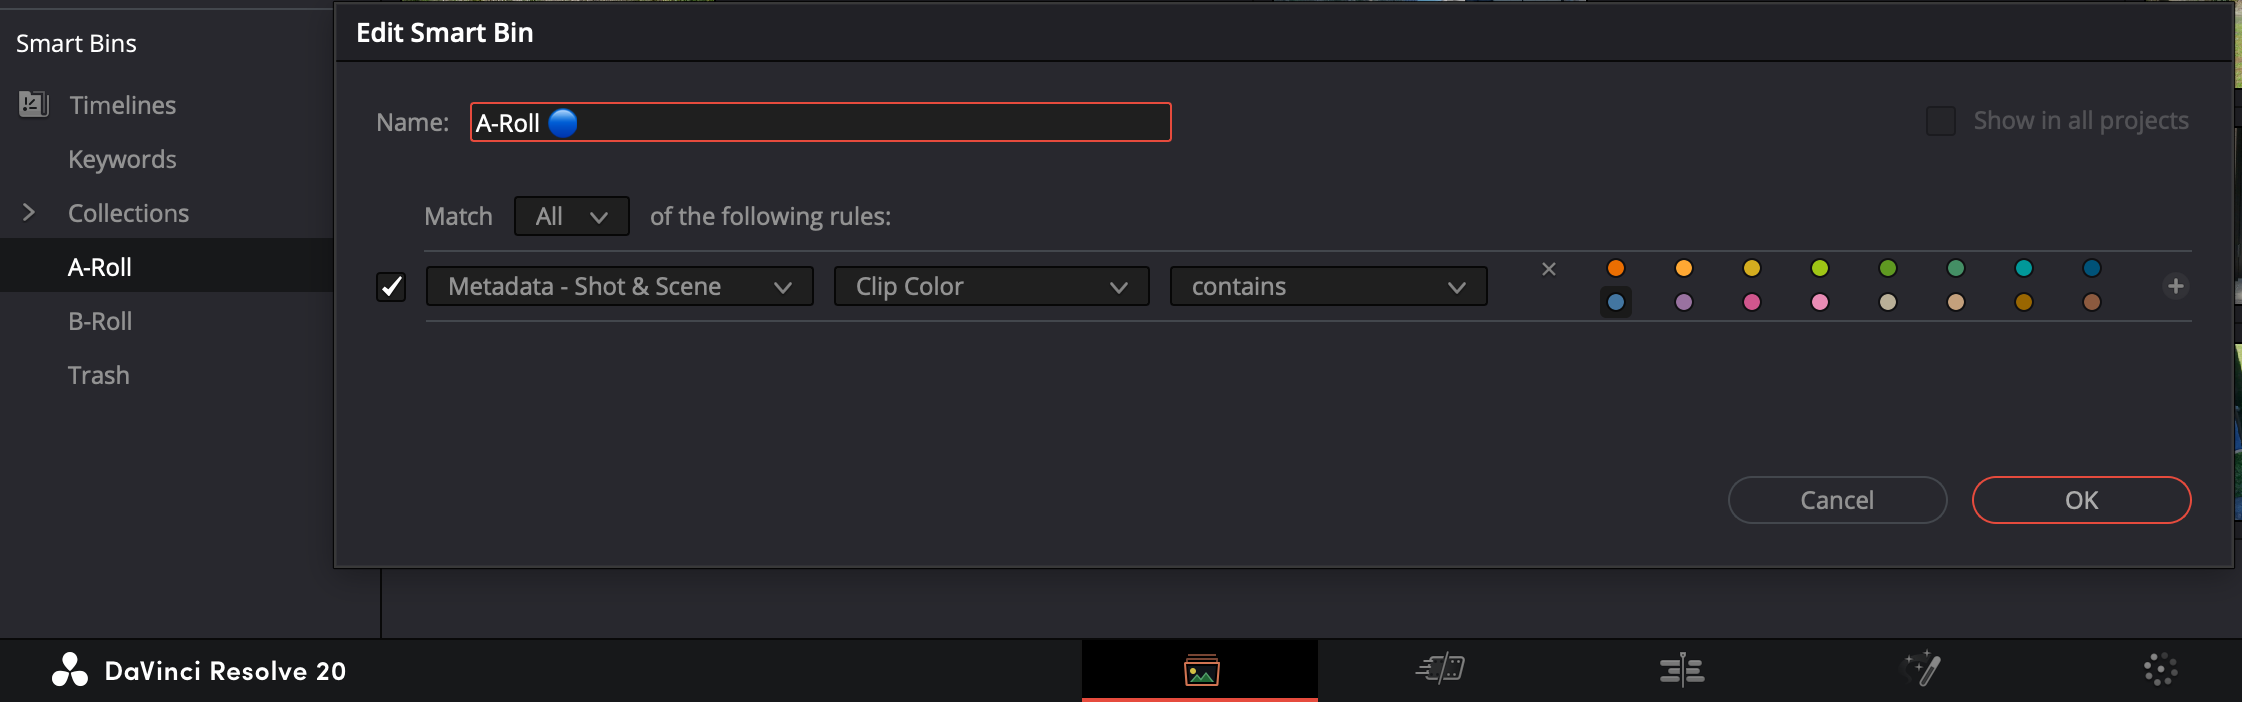
Step 3: Create Smart Bins
Creating Smart Bins automatically organizes your color-coded clips so you don’t have to hunt for them.
- In the Media Pool, scroll down to Smart Bins, right-click, and select Add Smart Bin.
- Name the first one A-Roll. Set the rule:
Metadata Shot & Scene->Clip Color->contains->Blue. - Create another Smart Bin named B-Roll. Set the rule:
Metadata Shot & Scene->Clip Color->does not contain->RedBlue
Step 4: The Assembly and the 1-2-3 Cut
Now, drag all the clips from your “A-Roll” Smart Bin straight onto your empty timeline. To quickly trim these down to snappy 3-5 second segments, map these three crucial commands to the 1, 2, and 3 keys in your Keyboard Customization settings:
- 1 = Trim Start (Cuts everything before the playhead on the selected clip).
- 2 = Split Clip (Makes a simple cut at the playhead, like the razor tool).
- 3 = Trim End (Cuts everything after the playhead on the selected clip). (Note: These are Ripple edits, meaning they will automatically close the gaps in your timeline as you cut!)
Step 5: Polish with Sound
Once your short, snappy clips are assembled, drop your music track onto Audio Track 2 underneath your clips. Go through and adjust the Clip Volume (the white horizontal line on each audio clip) so the background noise from your videos isn’t overpowering the music.
2. Color Grading
The Golden Rule: You must transform your footage into the “Language” the LUT speaks (usually Rec.709) before the LUT touches it. When I’m shooting on holidays with mixed cameras (like an iPhone 12, my wife’s Pixel 10, or the DJI Osmo), I need to convert the specific log/HDR format to Rec.709. Here are the input and output parameters you generally need for a Color Space Transform (CST) node:
| Phone/Camera | Input Space | Input Gamma | Output to LUT |
|---|---|---|---|
| iPhone 12 | Rec.2020 | Rec.2100 HLG/ST.2084 (PQ) | Rec.709 / Gamma 2.4 |
| Pixel 10 | Rec.2020 | Rec.2100 HLG* | Rec.709 / Gamma 2.4 |
| Osmo | DJI D-Gamut | DJI D-Log | Rec.709 / Gamma 2.4 |
(Note: Pixel phones usually shoot HLG, but check your file metadata if this looks wrong. Try ST.2084 / PQ if HLG looks too dark/contrasty).
Depending on how many clips I have, I use either a simple 3 Serial Nodes method or the more organized Group workflow.
Method A: The 3 Serial Nodes (Simple Workflow)
This is my go-to for a quick weekend trip where I only used one camera. Press Alt+S (Windows) or Option+S (Mac) to create 3 serial nodes on your clip.
Node 1: Input Transform (The “Fixer”)
This node converts your HDR footage into standard SDR footage that LUTs can understand. Open the Effects Library, search for Color Space Transform (CST), and drag it onto Node 1. Set the Input and Output parameters based on your camera (refer to the table above). CRITICAL: Under Tone Mapping, set Tone Mapping Method to DaVinci or Luminance Mapping. This “squashes” the bright HDR highlights down into standard range so they don’t clip. You may need to adjust the “Max Input Nits” slider (try 1000 or 2000) to recover detail in the bright holiday skies!
Node 2: Primary Correction (The Balance)
Use this node for your exposure and white balance adjustments.
Node 3: The Look (The LUT)
Right-click Node 3, go to LUTs, and select your desired creative LUT. Because the input from Node 1 is now correct (Rec.709), the LUT will look as intended.
Method B: The Group Workflow (Mixed Cameras)
The best way to manage color grading across multiple clips and mixed cameras (e.g., throwing your drone footage next to iPhone clips) is by using Groups.
Step 1: Group Your Clips
Select all clips from the same camera type (e.g., iPhone), right-click, and choose Add into a New Group. Name it appropriately. Repeat for other cameras.
Step 2: The Fix (Group Pre-Clip)
Change your node graph drop-down from Clip to Group Pre-Clip. Apply a Color Space Transform (CST) node here to convert the camera’s specific log/HDR format to Rec.709.
- Why? Every clip in the group automatically gets the correct HDR-to-SDR conversion without having to copy-paste nodes.
Step 3: The Look (Group Post-Clip)
Switch to Group Post-Clip and apply your creative LUT or stylized grade.
- Why? If you want to tweak the overall look later, you only adjust it here once, and the whole group updates instantly.
Step 4: The Balance (Clip)
Switch back to Clip to adjust Exposure and White Balance.
- Why? This level is unique to each specific video file to correct individual shot inconsistencies.
3. Archiving a Project
Once a holiday video is done, I definitely don’t want to leave massive original 4k files or render caches cluttering my drive. Backup the project and ONLY the used files in their original size.
Remove Unused Clips
- Go to the Edit page.
- Select the Master bin in your Media Pool.
- Click the top-right three-dot menu and select Remove Unused Clips.
(Make sure to select
Load All Timelinesif applicable).
Export the Project Archive
- Open the Project Manager.
- Right-click your project and select Export Project Archive (
.dra). - Uncheck Render Cache and Proxy Media to save space.
- Check Media Files to include all your remaining (used) source clips.
This ensures I have a neat, compact, and self-contained backup I can re-open whenever nostalgia hits, without hunting for missing media!