
GitLab CI/CD for GitHub
When creating a git project that you want to share with others you traditionally had the choice between GitHub with its huge community and tons of integrations, GitLab with a great overall dev experience from issues to one of the best CI/CD solutions out there and BitBucket being one of the friends you have since kindergarten. My personal decision was to host all my personal projects on 🦑 GitHub. For projects that need CI/CD I tinkered around with 👷 Travis CI and 🅾️ Circle CI on top of GitHub.
But recently GitLab announced that their amazing CI/CD solution can now be combined with git projects hosted on Github. Having used a fullstack GitLab solution at work for the last 1.5 years I was really psyched to test it for my personal projects. Now you can finally have the best of both worlds — GitHubs reach in the community and GitLabs CI tooling 💃
How to enable a GitLab CI/CD pipeline for a GitHub project
At first glance GitLab integrates like any other CI/CD service into your project. Using webhooks that the service either adds for you automatically or you define manually. GitLab did a pretty good job on describing how to set those up so I wont repeat the steps again in detail.
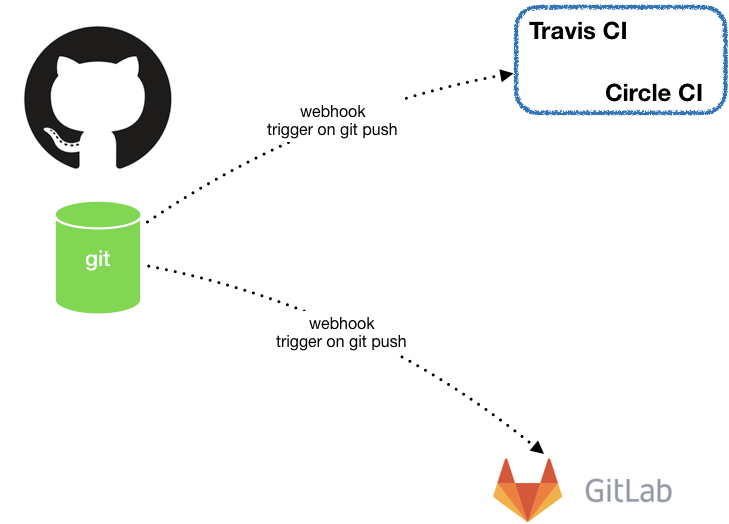
CI/CD integration into GitHub via webhook
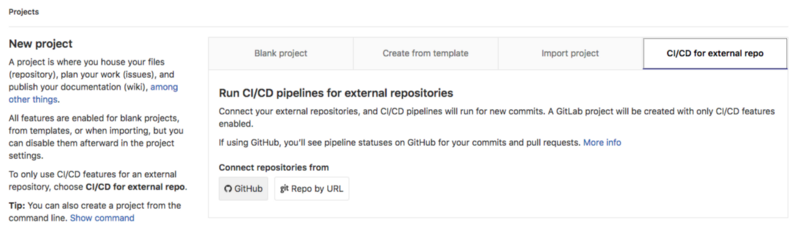
To set it up you first need to have your project on GitHub. I set up a small node.JS web app to play around with the integration. Feel free to fork it or create your own. Next you head over to GitLab sign in — I suggest using GitHub OAUTH to keep your code credentials in one place. To set up your GitLab CI/CD project simply create a new project and choose the option on the far right CI/CD for external repo and click GitHub.

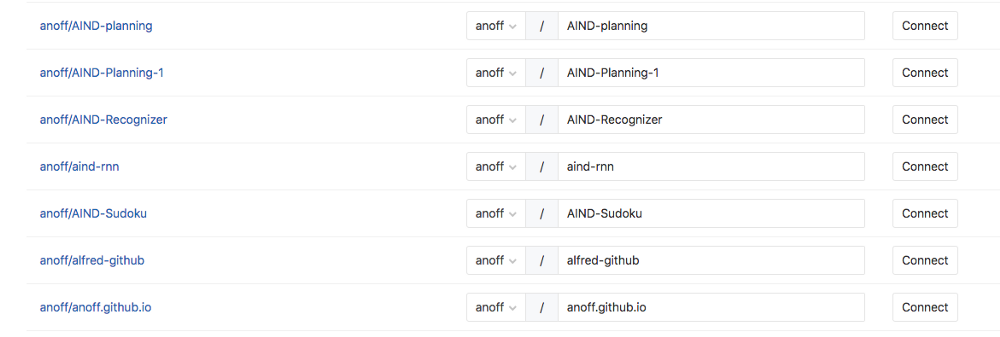
You will see a list of your GitHub repos and hit Connect on the one that you want to use for this integration. In my case it is the repo anoff/node-ci-dummy
After doing this you will see that GitLab actually cloned your entire project. There are two settings that make sure this magic 🧙 works. One is the previously mentioned webhook on the GitHub side that will trigger as soon as you git push onto your GitHub repository. The other is the repository settings on your newly created GitLab project that is set to PULL from a remote repository — namely the GitHub project you selected.
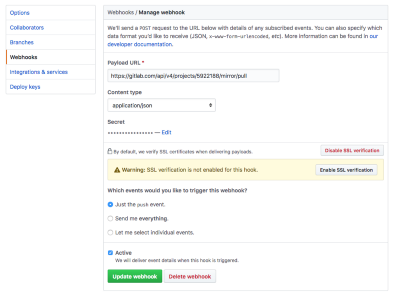
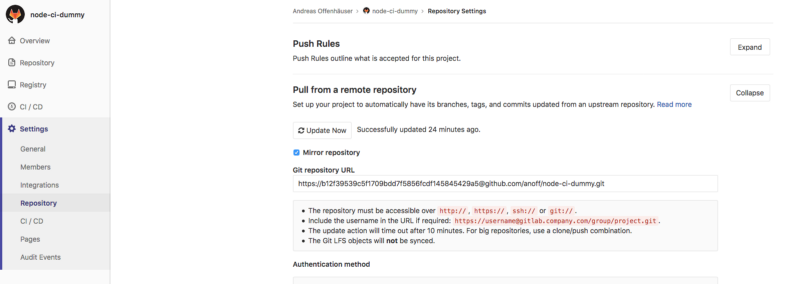
GitHub webhook and GitLab repo mirror options
How to configure a CI pipeline
The final thing to do is to set up an actual CI pipeline in your repository. GitLab will automatically recognize the pipeline definition and run the defined jobs. If you are unfamiliar with GitLab CI you might want to start with a minimalist pipeline definition. Just create a .gitlab-ci.yml in your root directory. Example content to test a node.JS app:
image: node:9
lint:
  script:
  - npm install
  - npm run lint

unit test:
  script:
  - npm install
  - npm test
In my dummy repository this will run standard linting and AVA unit tests in parallel. Below you can see the commit that introduced this file and the respective pipeline that was triggered.

GitHub commit view with a pending GitLab pipeline
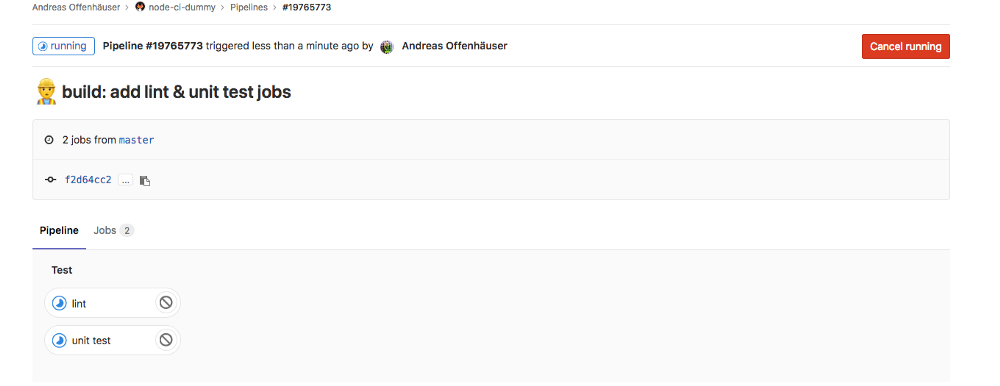
GitLab view of the pipeline in process
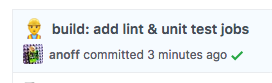
Success marker on GitHub after the CI pipeline finished
Check out the docs for more info writing custom pipelines. For example introducing stages might help you get a handle on more complex pipeline workflows. If you are running a public GitHub project and you want guests to see your pipeline results in detail you should make sure your GitLab project is set to Public.
Final thoughts
This post covered how to set up a basic integration workflow between GitHub and GitLab: not a lot of work 🏋️ for you actually.
Things to do next:
- introduce multiple stages to your pipeline
- test against various runtimes
- make use of the service tag in GitLab pipelines to spawn a database to run smaller integration tests
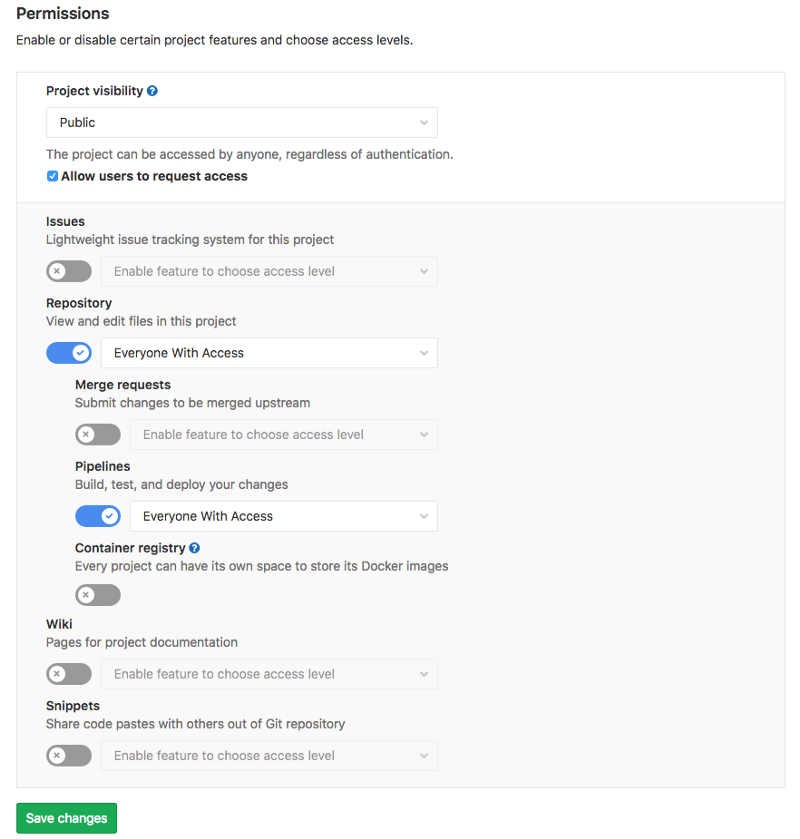
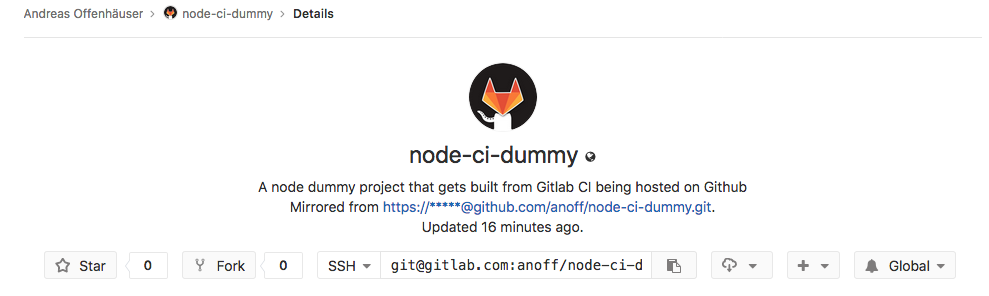
In my opinion the only downside of the GitLab CI/CD compared to other solutions like Travis, Circle, Drone is that the fact that GitLab creates a fully featured project for you might create some confusion for people. One thing you should definitely do is follow the permission settings above and disable issues, wiki, pull requests on your GitLab repositiry in this case. That way your permissions will prevent people from interacting with you via GitLab. In addition your project automatically shows up as Mirrored from which links back to your GitHub master project. If that is not enough for you, you can always add a link in your README and your contribution guidelines. GitLab project showing link to the original project
Oh btw if you are still looking for the Why that the title promised: GitLabs CI/CD solution is just one of the most comprehensive out there imo.
Feel free to message me on twitter 🐦